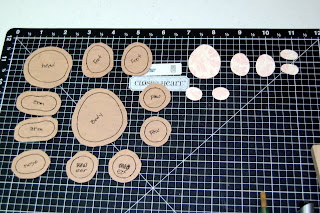
 Finally, I got this done for all of you that I promised it too! I'm sorry to take so long but I have been very busy with work and getting ready for my clubs this week. So, the pattern is first, just print if off on cardstock (it is easier to trace around) and cut out the pieces. Cut the B & T pieces out on the line but leave a 1/4" margin around the mulberry pieces. Next, wet the pieces with a water brush or paint brush and water. Using your piercing tool, tear away the wet paper around your pattern line. When you have finished tearing a piece, pull the fibers out straight and set aside to dry. When the pieces are dry, they are ready to be "fluffed". I use a wire brush to scrub the paper lightly. You can find these in the paint department of Walmart for about $2.00. Fluff all of the pieces and then go around the edges with chalk to add dimension. Now your pieces are ready to assemble. For the nose, I use a heart punch and the eyes are printed tear bear eyes that I put through my xyron machine. I purchased the paper and eye printables at http://www.tear-bears.com/. Glue your B & T pieces on and use a fine marker to add faux stitches. Finally, glue all of your pieces in place. Finished!



















No comments:
Post a Comment